The Idea
The idea behind the painting I’m currently working on is to capture my town’s attitude after being hit by Hurricane Florence last September. It occured to me me as I was walking along the Neuse River. One of the houses facing the river is owned by a friend of mine. The front lawn was destroyed; the lawn torn up and bushes torn out; toys mangled and furniture strewn about. The house itself was severely damaged; most of the porch and underneath was torn away. The first floor was totally flooded. In fact, the house was condemned.
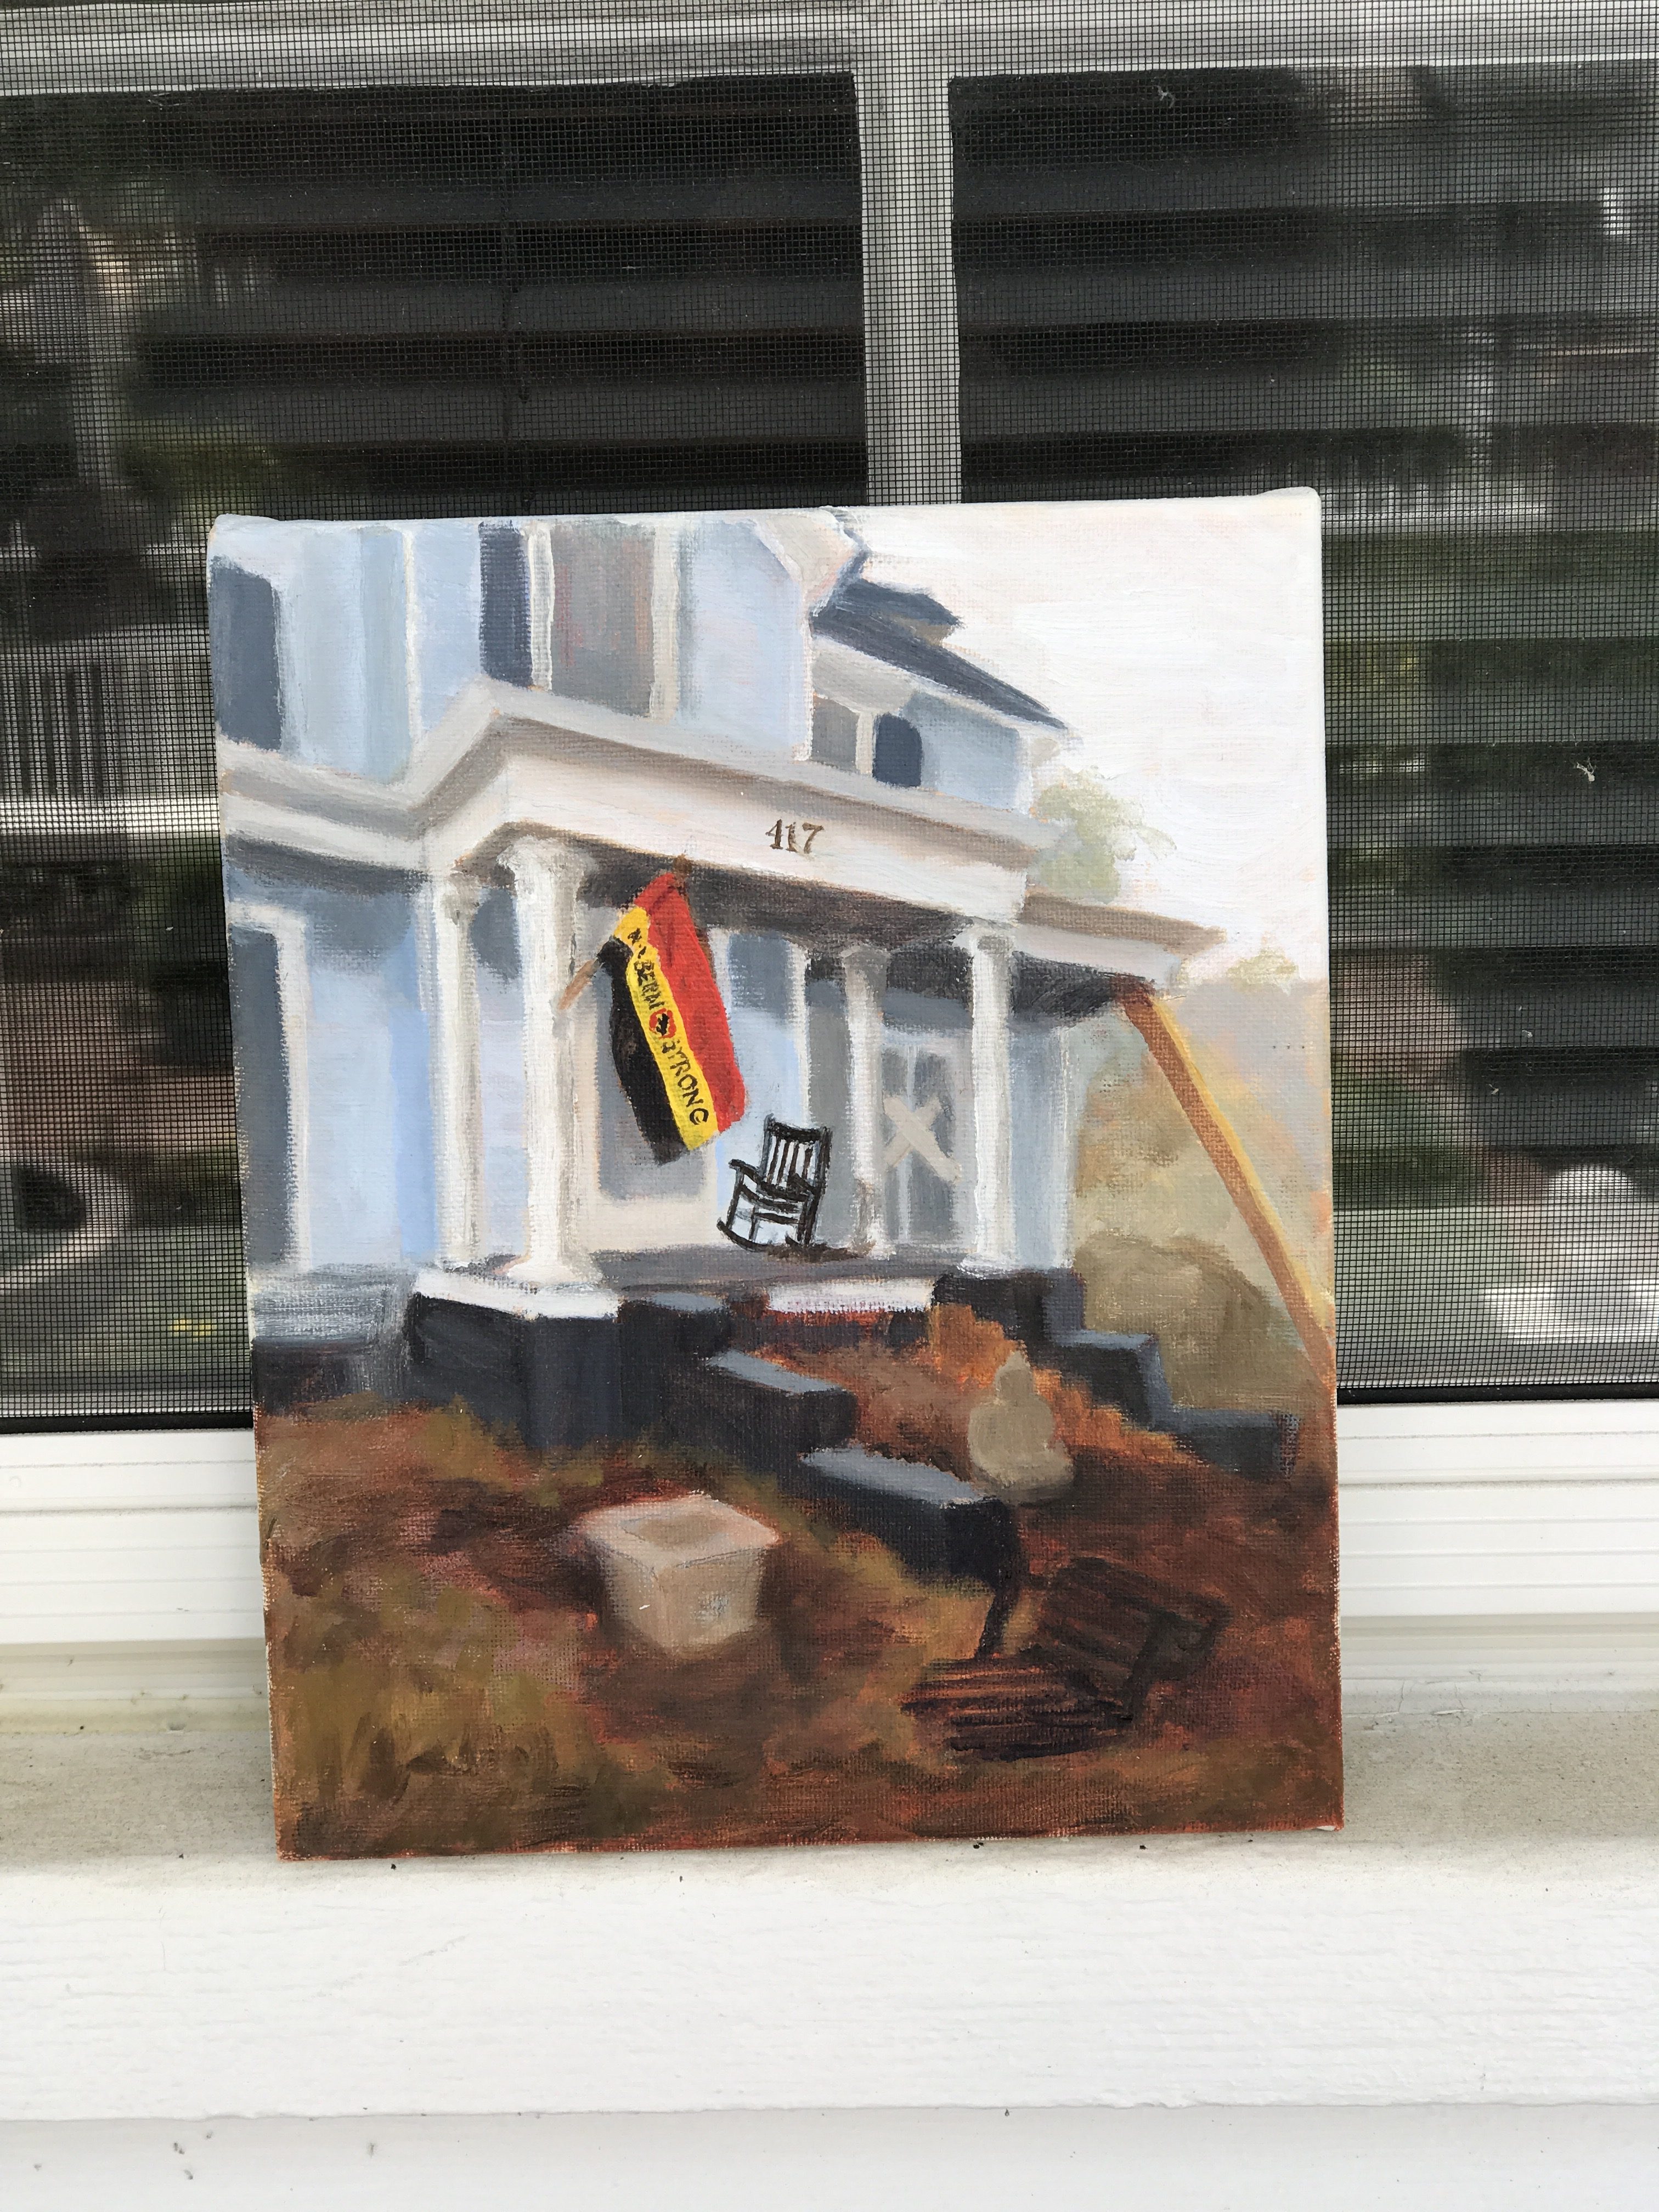
My friend, though, was undaunted. He somehow dragged his rocking chair up onto what remained of the porch (The porch steps were found a block away.) and sat on it, playing his banjo beneath an oversize flag proclaiming “New Bern Strong.”
This was a scene that needed painting. I was told that the local arts community would hold an art show next September, to mark the anniversary of the hurricane. All proceeds would benefit disaster relief in the county. I thought this would make a fitting entry. I just need to make it good and effective.
A Sketch
I came back and made some sketches, took some photos. I did a small acrylic painting to get a feel for what the final painting might be like:
The Challenge
The challenge is to make the message clear: Here is a fine house that has been badly hurt, but is standing proud amid the wreckage; not a derelict in the middle of a junk pile. My plan is to paint the house in strict two-point perspective, almost like an architectural drawing, and to paint the damage in a contrasting way. The finished painting would be large and imposing, 24 by 36 inches.
The Drawing
To do the under-drawing of the house, I turned the photos and sketches I had into a Leonardo-style perspective drawing. Normally I’m pretty good at “eyeballing” perspective, like in the little sketch above, but in this case I felt the need to make this a perfect as possible.
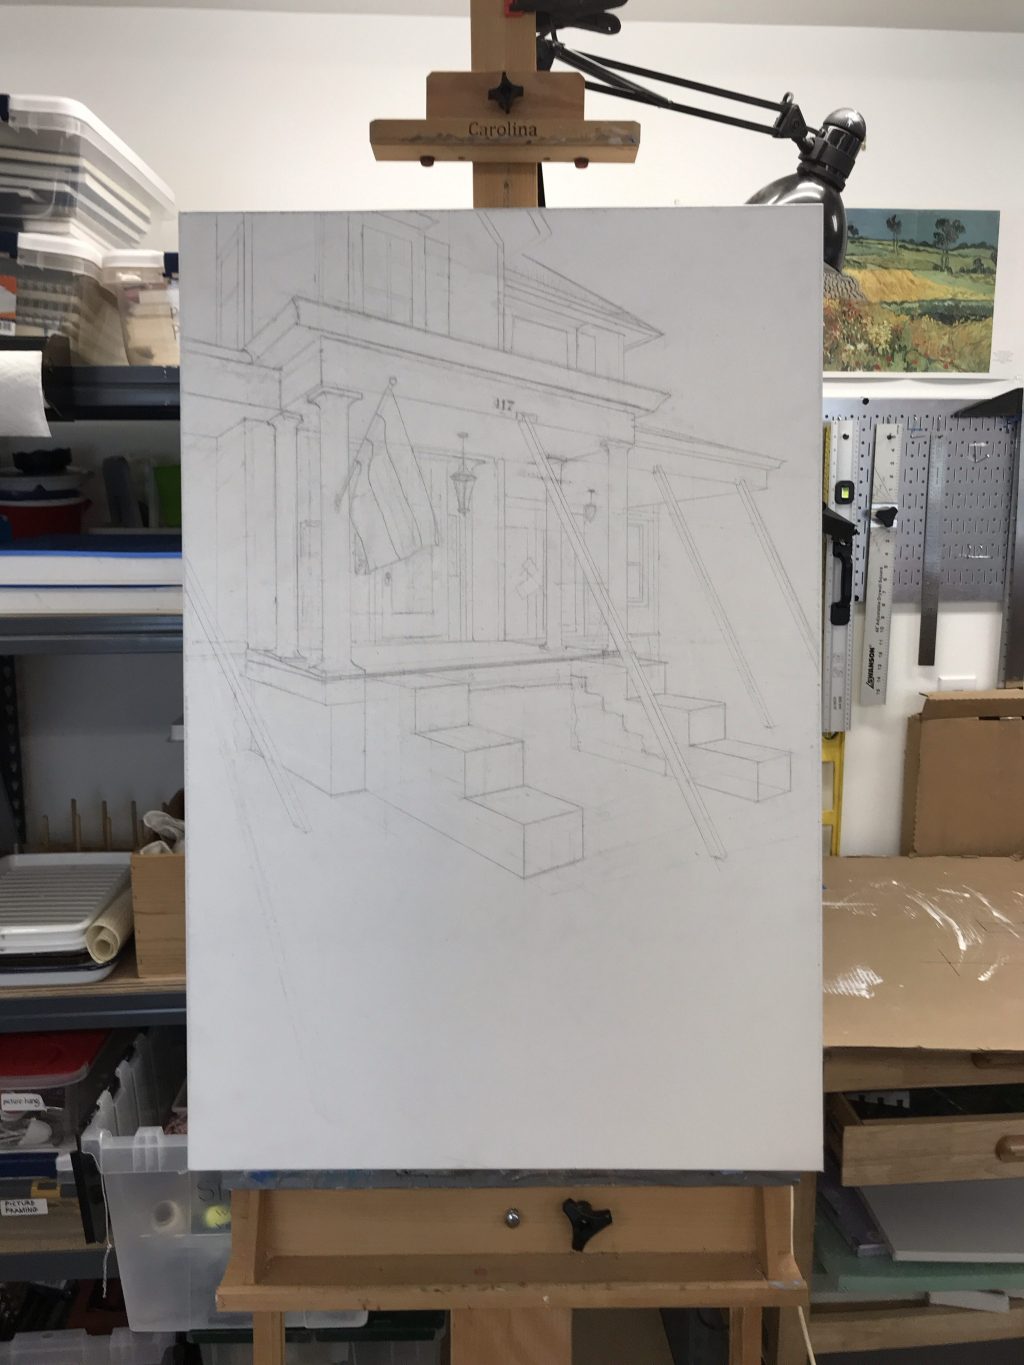
First I figured out the general size and position of the house. Then I decided where to put my horizon line and where to position the left and right vanishing points. I marked these on my workbench. I positioned the stretched canvas just so, and to set the position of the vanishing points I drove finishing nails into two blocks of wood that were the thickness of my canvas and clamped them in place. Using long rules that I use for painting scenery, I could pivot them against the finishing nails to draw the necessary classic perspective lines. Keeping vertical lines strictly vertical will give the house the kind of strong feeling I am after (I hope!)
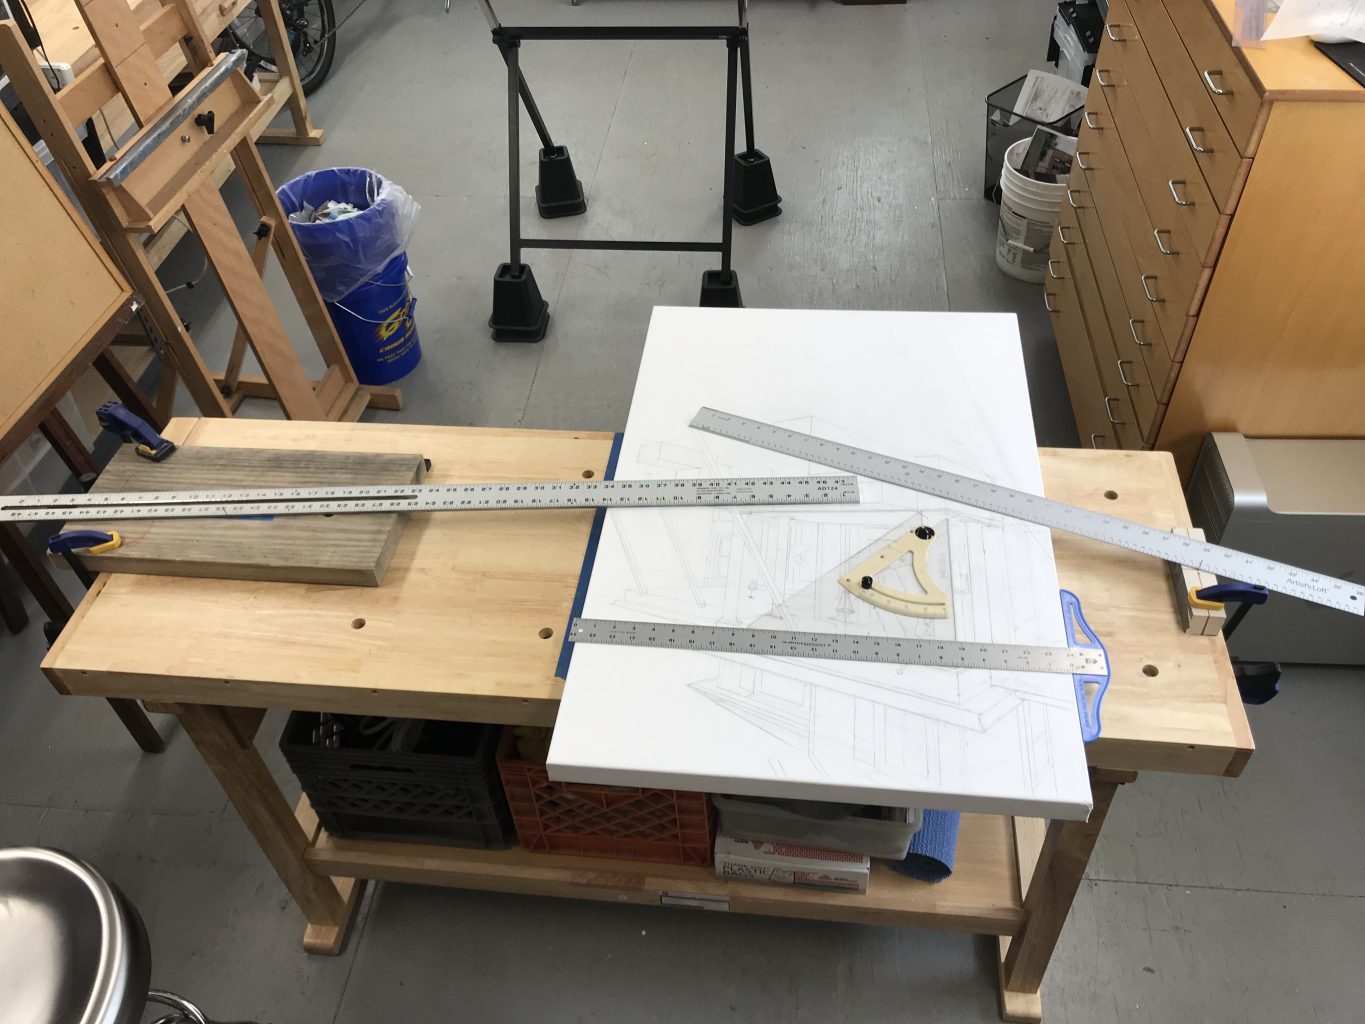
Here’s the finished pencil drawing:
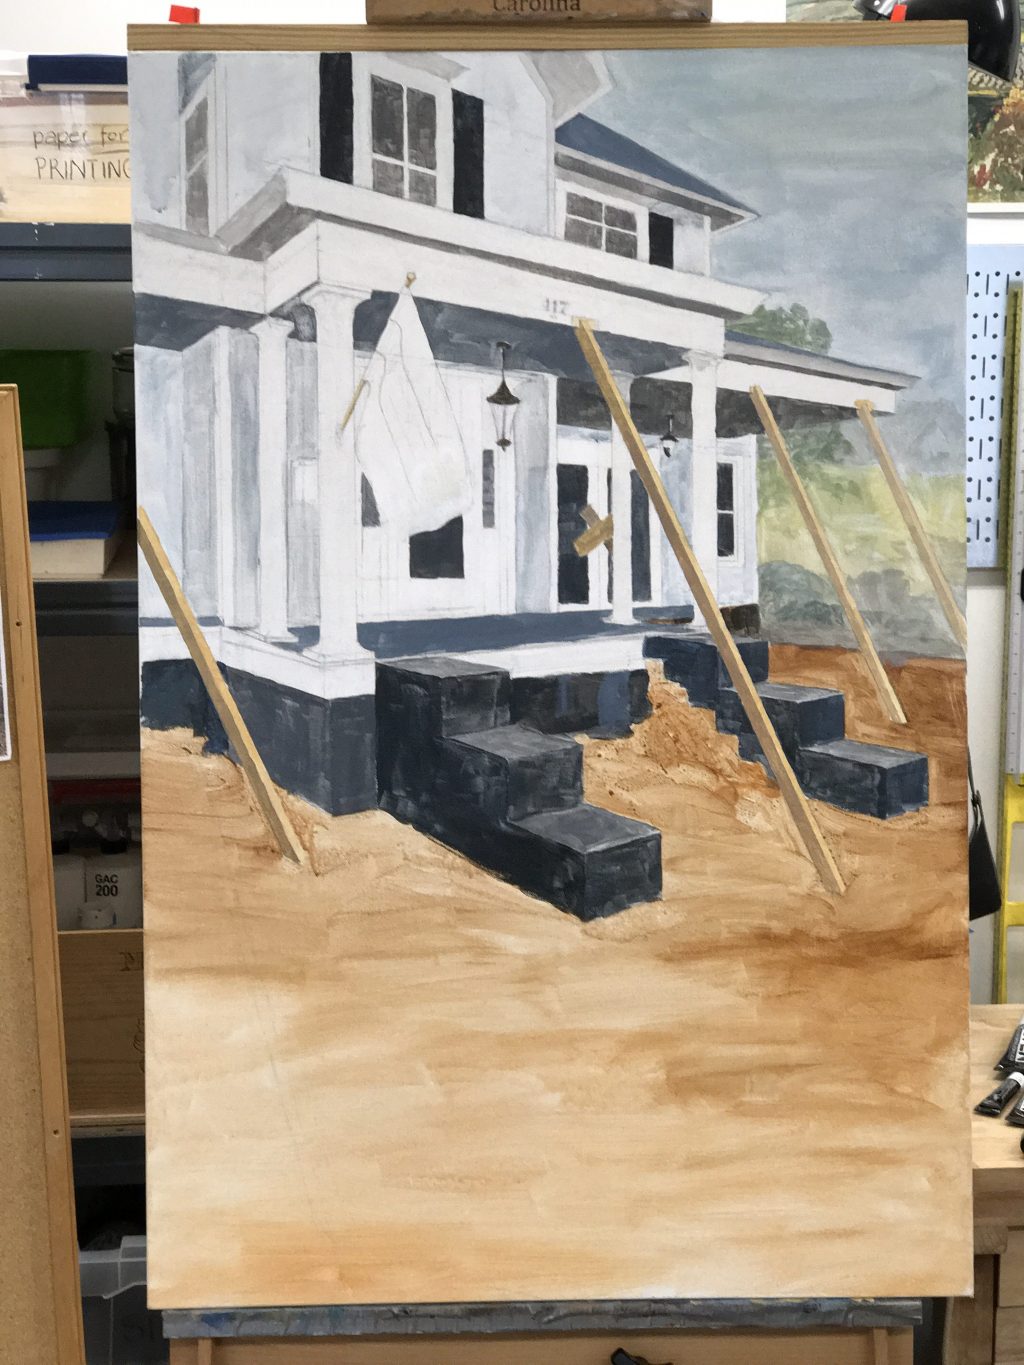
The Underpainting
The next step, which I did yesterday, was blocking-in, or the underpainting–a thin layer of paint to delineate basic shapes, and also to simply “get rid of” the white of the canvas, which helps in making color decisions. Best practice dictates that you need to leave all details until a later stage in the process, but I couldn’t help putting in some of them. For example, I put in the lanterns because if I covered them up, it would be a problem to figure out again where exactly they should be placed.
In the days that come I will post pictures of my progress toward a final painting.